Next.js 命令式路由
在 Next.js 中,到目前为止,我们使用 Link react 组件从一个页面导航到另一个页面。还有一种编程方式可以使用路由器组件实现相同的目的。一般Router组件与html标签一起使用。
更新 pages 目录下的 index.js 文件如下。
import Router from 'next/router'
import Head from 'next/head'
function HomePage(props) {
   return (
      <>
         <Head>
            <title>Welcome to Next.js!</title>
         </Head>
         <div>Welcome to Next.js!</div>
         <span onClick={() => Router.push('/posts/one')}>First Post</span>
         <br/>
         <div>Next stars: {props.stars}</div>
         <img src="/logo.png" alt="TutorialsPoint Logo" />
      </>
   )
}
export async function getServerSideProps(context) {
   const res = await fetch('https://api.github.com/repos/vercel/next.js')
   const json = await res.json()
   return {
      props: { stars: json.stargazers_count }
   }
}
export default HomePage
启动 Next.js 服务器
运行以下命令启动服务器-。
npm run dev
> nextjs@1.0.0 dev \Node\nextjs
> next
ready-started server on http://localhost:3000
event-compiled successfully
event-build page: /
wait -compiling...
event-compiled successfully
event-build page: /next/dist/pages/_error
wait -compiling...
event-compiled successfully
验证输出
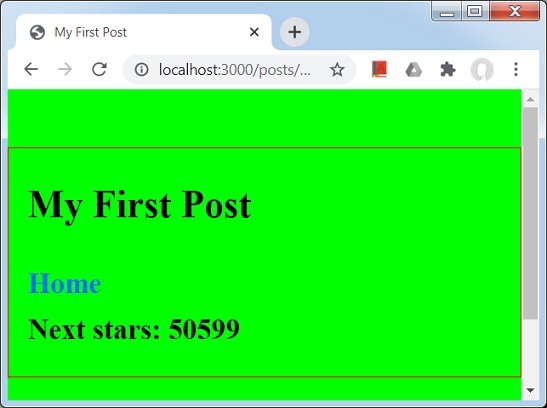
在浏览器中打开 localhost:3000,您将看到以下输出。
点击第一个不是链接但可以点击的帖子。