photoGap 创建缩略图
photoGap 创建缩略图
在上一节中,我们了解了拍摄照片的选项以及如何使用 PhoneGap 拍摄照片。在本节中,我们将了解如何使用图像创建缩略图。使用 PhoneGap 创建缩略图非常容易。我们将使用我们之前的示例并对其进行一些更改。
这些是用于使用 PhoneGap 获取图像的以下步骤:
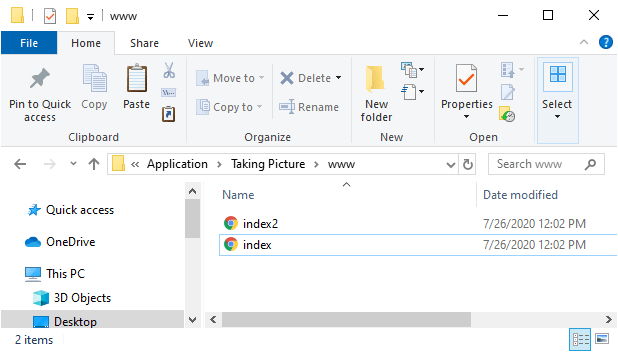
1) 创建 index2.html
我们将创建一个新文件 index2.html 使用相同的代码作为 index.html 中的预设。我们稍后将在 index2.html 文件中进行更改,而不是在 index.html 中。
2) 创建复选框
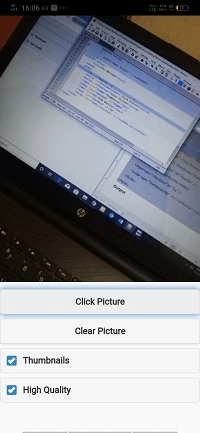
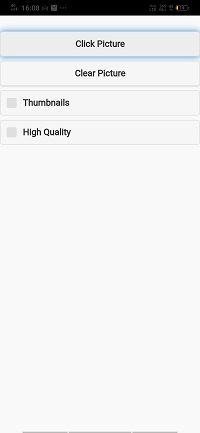
现在,我们将为缩略图和高质量创建复选框。如果用户将选中缩略图复选框并使用 PhoneGap 从相机拍照,则该图片将显示为压缩图片。如果用户将选中高质量复选框并使用 PhoneGap 从相机拍照,则图片将显示为高质量图片。我们将使用 <input></input> 标签来创建复选框并给出以下列方式为其添加标签:
<label for="thumbs">Thumbnails</label>
<input type="checkbox" id="thumbs" />
<label for="hq">High Quality</label>
<input type="checkbox" id="hq" />
3) 更改 takePic 功能。
现在,我们将图像转换为缩略图或高质量。为此,我们将使用 JQuery。如果选中缩略图复选框,则宽度将设置宽度为 150,高度为 100。这将创建图片的缩略图。
如果选中"高质量"复选框,我们设置质量选项为 90。这些条件添加在选项下方和 getPicture() 函数上方。
//Convert to Thumbnail
if(( $("#thumbs").is(':checked')))
{
            options.targetWidth = 150;
            options.targetHeight = 100;
}

if(( $("#hq").is(':checked')))
{
            options.quality = 90;
}
现在,我们已准备好在 PhoneGap Developer App 上运行我们的项目。
完成项目
<!DOCTYPE html>
<html>
    <head>
        <meta charset="utf-8">
        <meta name="viewport" content="initial-scale=1, maximum-scale=1, user-scalable=no, width=device-width">
        <link rel="stylesheet" href="http://code.jquery.com/mobile/1.4.5/jquery.mobile-1.4.5.min.css" />
        <script src="http://code.jquery.com/jquery-1.11.1.min.js"></script>
        <script src="http://code.jquery.com/mobile/1.4.5/jquery.mobile-1.4.5.min.js"></script>
        <style>
            #imgArea
            {
                border: 1px solid black;
                max-width: 600px;
            }
        </style>
        <script>
        window.onload=function()
        {
            document.getElementById('btnTakePicture').addEventListener('click', takePic);
            document.getElementById('btnClear').addEventListener('click',function(){
               document.getElementById('imgArea').src="";
            });

        }

        function takePic(e)
        {
            var options = {
                quality: 50,
                destinationType: Camera.DestinationType.FILE_URI,
                encodingType: Camera.EncodingType.JPEG,
                mediaType: Camera.MediaType.PICTURE,
                targetWidth: 600,
                targetHeight: 400

            }
            //Convert to Thumbnail
            if(( $("#thumbs").is(':checked')))
                {
                    options.targetWidth = 150;
                    options.targetHeight = 100;
                }
            if(( $("#hq").is(':checked')))
                {
                    options.quality = 90;
                }
            navigator.camera.getPicture(success, fail, options);
        }
        function success(thePicture)
        {
            var image = document.getElementById('imgArea');
            image.src = thePicture;
        }

        function fail(e)
        {
            alert("Image failed: " + e.message);
        }
        </script>
        <title>Pic Options</title>
    </head>
    <body>
        <img id="imgArea" />
        <button id="btnTakePicture"> Click Picture </button>
        <button id="btnClear"> Clear Picture </button>
        <label for="thumbs"> Thumbnails </label>
        <input type="checkbox" id="thumbs" />
        <label for="hq"> High Quality </label>
        <input type="checkbox" id="hq" />
        <script type="text/javascript" src="cordova.js"></script>
    </body>
</html>
输出