photoGap 移动对象
使用加速度计移动对象
在上一节中,我们使用 PhoneGap 读取设备加速度计。在本节中,我们将研究加速计环并用它来做一些有建设性的事情,比如在屏幕上移动一个物体。我们将对之前的示例进行一些更改。这些是用于使用加速度计移动对象的以下步骤:
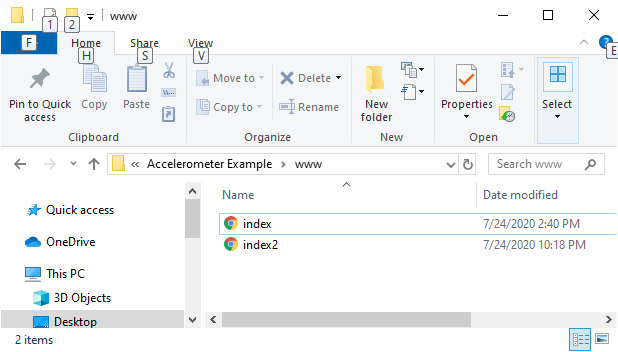
1) 创建 index2.html
我们将创建一个新文件 index2.html。 html 与 index.html 中预设的代码相同。我们稍后将在 index2.html 文件中进行更改,而不是在 index.html 中。
2) 创建一个红色块用于移动
现在,我们将使用
标签创建一个移动块。我们将使用 id 属性 给它一个 Id,因为 JavaScript 不知道 HTML 标签。
<div id="blockRed"></div>
3) 更改红块的样式
我们将使用 <style></style> 标签。我们将通过以下方式设置背景颜色、宽度和高度:
<style>
        #blockRed
        {
                background-color: #aa0000;
                width: 50px;
                height: 50px;
         }
</style>
4) 在 window.onload 函数中进行更改
我们将在 success 函数中进行更改。如果 X 加速度小于 0,我们将取 x 位置变量,该变量标记 X 轴上红色方块的 X 位置,并将加速度 X 值的绝对值加到该位置。
if(accel.x < 0)
{
                    xPos = xPos + (Math.abs(accel.x));
                    document.getElementById('blockRed').style.marginLeft = xPos + "px";
}
否则,我们将通过以下方式乘以负 1 使 xPos 为负数:
else
{
           xPos = xPos + (accel.x *-1);
           document.getElementById('blockRed').style.marginLeft = xPos + "px";
}
完整代码:
<!DOCTYPE html>
<html>
    <head>
        <meta charset="utf-8">
        <meta name="viewport" content="initial-scale=1, maximum-scale=1, user-scalable=no, width=device-width">
        <title>Accelerometer</title>
        <style>
        #blockRed
            {
                background-color: #aa0000;
                width: 50px;
                height: 50px;
            }
        </style>
        <script>
            var xPos=0;
            window.onload = function()
            {
                var watchID = navigator.accelerometer.watchAcceleration(success, fail, {frequency: 100});

            }

            function success(accel)
            {

                if(accel.x < 0){
                    xPos = xPos + (Math.abs(accel.x));
                    document.getElementById('blockRed').style.marginLeft = xPos + "px";
                } else
                {
                    xPos = xPos + (accel.x *-1);
                    document.getElementById('blockRed').style.marginLeft = xPos + "px";
                }

                document.getElementById('outX').innerHTML = "X:" + accel.x;
                document.getElementById('outY').innerHTML = "<br/>Y:" + accel.y;
                document.getElementById('outZ').innerHTML = "<br/>Z:" + accel.z;
            }

            function fail(e)
            {
                alert("Accelerometer Error");
            }
        </script>
    </head>
    <body>
        <div id="blockRed"></div>
        <output id="outX"></output>
        <output id="outY"></output>
        <output id="outZ"></output>

        <script type="text/javascript" src="cordova.js"></script>

    </body>
</html>
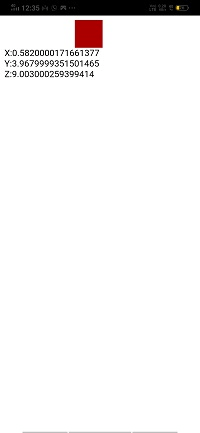
输出