CSS 伪类
伪类可以定义为与组合到定义所选元素特殊状态的选择器的关键字。它被添加到选择器中,用于根据现有元素的状态向其添加效果。例如,
":hover" 用于在用户将光标移到元素上时为其添加特殊效果。
语法
伪类以冒号
(:)开头。让我们看看其语法。
selector: pseudo-class {
property: value;
}
尽管有各种CSS伪类,但在这里我们将讨论一些最常用的伪类。广泛使用的CSS类的列表如下:
| 伪类 |
说明 |
| :active |
用于向活动元素添加样式。 |
| :hover |
当用户将鼠标指针移到元素上时为其添加特殊效果。 |
| :link |
为未访问的链接添加了样式。 |
| :visited |
为访问的链接添加了样式。 |
| :lang |
用于定义在指定元素中使用的语言。 |
| :focus |
选择当前用户关注的元素。 |
| :first-child |
它将特殊效果添加到一个元素,该元素是另一个元素的第一个子元素。 |
让我们讨论上面的伪类以及一个示例。
:hover伪类
此伪类添加了一个当用户将光标移到元素上时,将特殊样式添加到元素上。如果要使其生效,则必须在
":link" 和
":visited" 伪类之后应用。
示例
<html>
<head>
<style>
body{
text-align:center;
}
h1:hover{
color:red;
}
h2:hover{
color:blue;
}
</style>
</head>
<body>
<h1>Hello world </h1>
<h2>This is an example of :hover pseudo class</h2>
</body>
</html>
输出

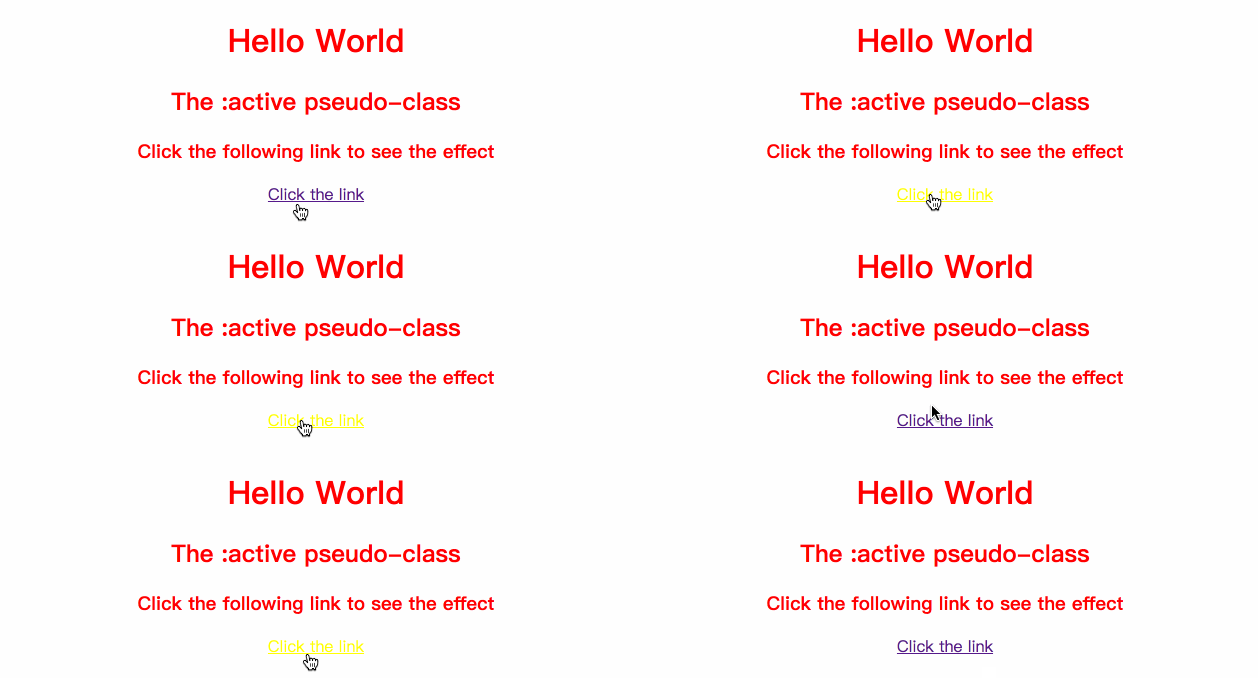
:active伪类
当元素被单击或激活时适用。它选择了激活的元素。
我们可以通过下面给出的示例来理解它。
示例
<!DOCTYPE html>
<html>
<head>
<style>
body{
text-align:center;
}
a:active{
color: yellow;
}
h1, h2, h3{
color:red; ;
}
</style>
</head>
<body>
<h1>Hello World</h1>
<h2>The :active pseudo-class</h2>
<h3>Click the following link to see the effect</h3>
<a href="#">Click the link</a>
</body>
</html>
输出
:visited伪类
它选择访问的链接并为其添加特殊样式。其可能的值可以是有效格式的任何颜色名称。
示例
<!DOCTYPE html>
<html>
<head>
<style>
body{
text-align:center;
}
a:visited{
color: red;
}
</style>
</head>
<body>
<h1>Hello World</h1>
<h2>The :visited pseudo-class</h2>
<h3>Click the following link to see the effect</h3>
<a href="#">Click the link</a>
</body>
</html>
:lang伪类
在需要多种语言的文档中很有用。
示例
在此示例中,我们指定
p:lang(fr)选择具有属性
lang =" fr" 的元素。
<!DOCTYPE HTML>
<html>
<head>
<style>
body{
text-align:center;
}
p:lang(fr)
{
font-family:Verdana;
color:blue;
}
</style>
</head>
<body>
<p>Without :lang pseudo class</p>
<p lang="fr">With :lang pseudo class with the value fr</p>
</body>
</html>
:focus伪类
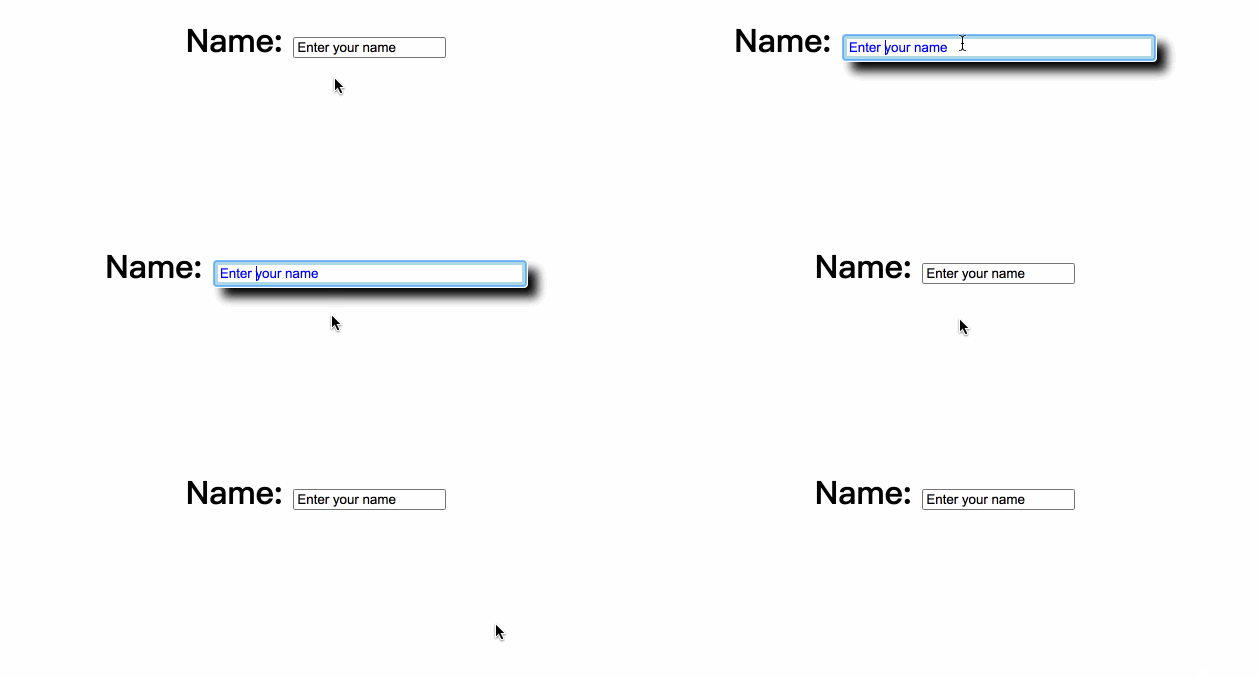
它选择用户当前关注的元素。通常在表单的输入元素中使用,并在用户单击它时触发。
示例
<!DOCTYPE HTML>
<html>
<style>
form{
text-align:center;
}
input:focus{
border:5px solid lightblue;
box-shadow:10px 10px 10px black;
color: blue;
width:300px;
}
</style>
<body>
<form>
<h1>Name: <input type="text" value="Enter your name"></h1>
</form>
</body>
</html>
输出
:first-child
它与特定元素匹配,该元素是另一个元素的第一个孩子,并为相应元素添加了特殊效果。
注意:我们必须在文档顶部声明一个 ,才能使":first-child"伪类在IE8及其早期版本中起作用。
以下内容插图更清楚地说明了这一点。
示例
<!DOCTYPE HTML>
<html>
<head>
<style>
h1:first-child {
text-indent: 200px;
color:blue;
}
</style>
</head>
<body>
<div>
<h1>It is the first heading in div. It will be indented, and its color will be blue.</h1>
<h1>It is the Second heading in div, which will not be affected.</h1>
</div>
</body>
</html>
简单的工具提示悬停
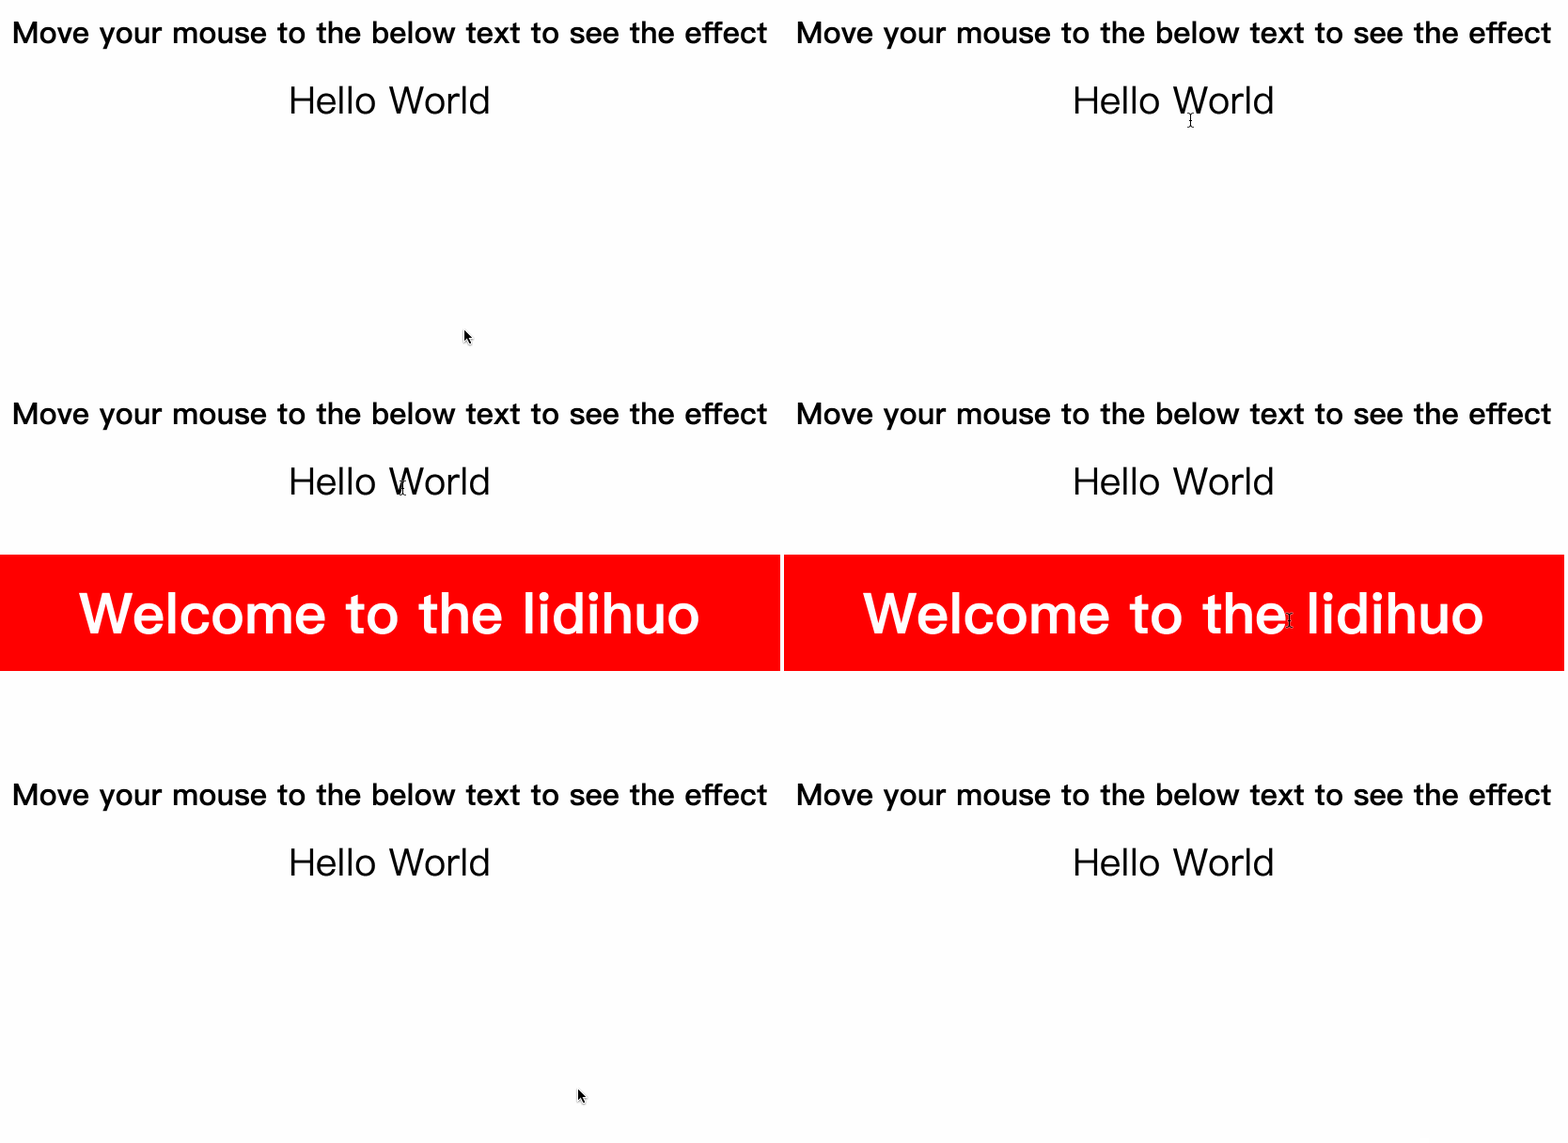
当用户将光标移到元素上方时,工具提示会指定有关某些内容的额外信息。让我们使用
":hover" 伪类创建一个工具提示。
示例
<!DOCTYPE html>
<html>
<head>
<style>
body{
text-align:center;
}
h2{
display: none;
background-color: red;
color:white;
padding: 20px;
}
div{
font-size:40px;
}
div:hover h2 {
display: block;
}
</style>
</head>
<body>
<h1>Move your mouse to the below text to see the effect</h1>
<div>Hello World
<h2>Welcome to the lidihuo</h2>
</div>
</body>
</html>
输出
CSS类和伪类
CSS中的类可以与
伪类组合。我们可以将其写为-
语法
selector.class: pseudo-class {
property: value;
}
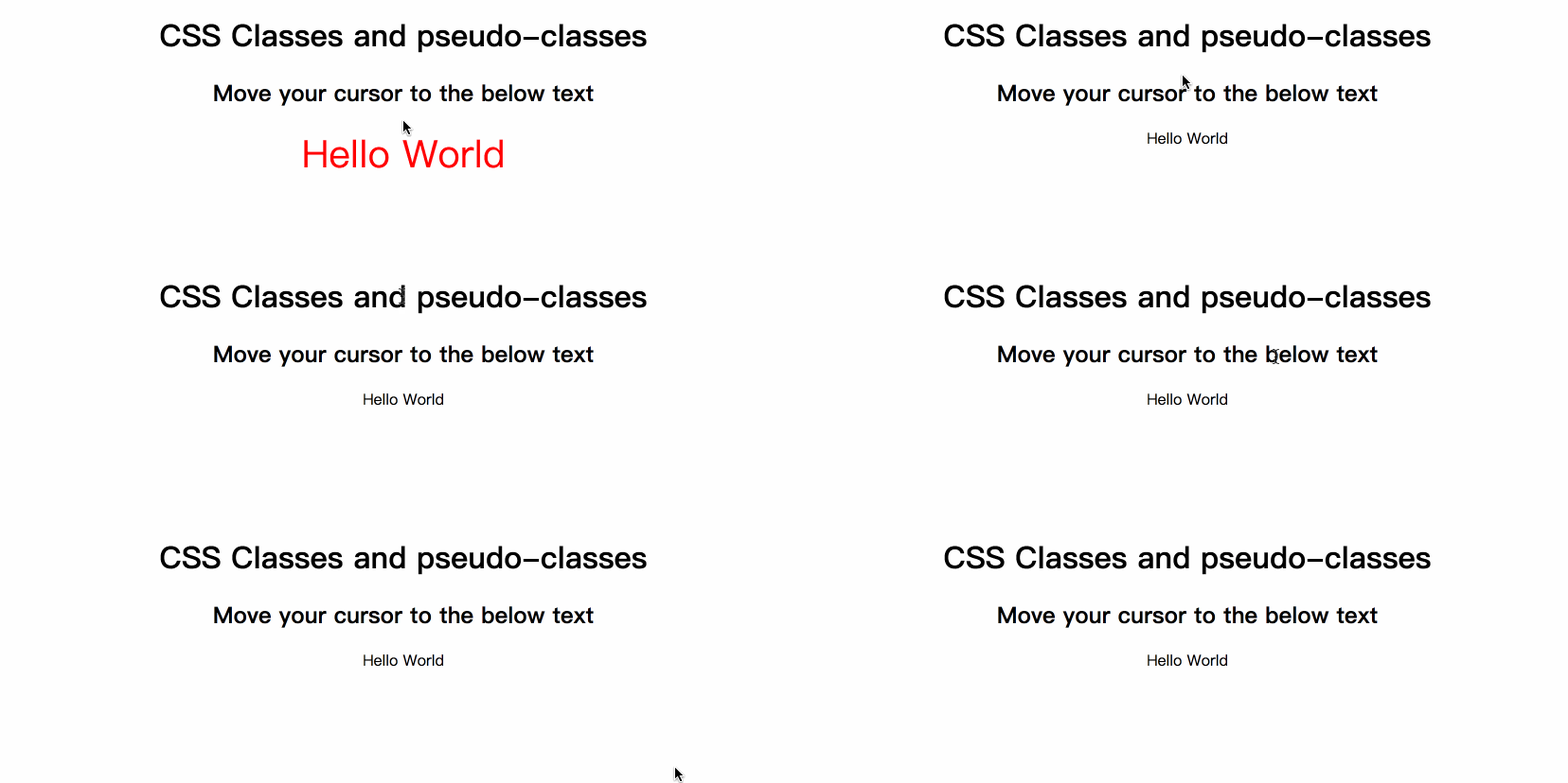
我们可以通过以下示例来理解它。
示例
<!DOCTYPE html>
<html>
<head>
<style>
body{
text-align:center;
}
div.hello:hover {
color: red;
font-size:40px;
}
</style>
</head>
<body>
<h1>CSS Classes and pseudo-classes</h1>
<h2>Move your cursor to the below text</h2>
<div class="hello">Hello World</p>
</body>
</html>
输出
